The Project
Lego has grown from a kids' toy into a creative tool for adults. This project turns 2D pixel art into 3D Lego bricks. Driven by nostalgia, creative workshops, and the wish to build freely with the right bricks.
Motivation
Lego, initially known for its bricks for children, has significantly expanded its reach over time. Recognizing the interest of older generations who grew up with Lego, the company has developed more complex and detailed sets for adults. These sets bring back nostalgia and offer a challenging but enjoyable building experience.
Also Lego has made its way into the business world by introducing a facilitation method called Lego Serious Play for creative thinking and problem-solving in professional settings. As a result, Lego has grown from being a kids' toy to a handy tool for adults and professionals, all while keeping the fun and creativity alive.
Creativity and fun are the keywords for the idea, which allows you to convert 2D retro pixel graphics into 3D Lego bricks. The concept was inspired by a friend who gifted me several Super Mario figures, all built entirely from basic, standard Lego bricks. I was also motivated by the “Post-it wars” between companies. Additionally, at one of my previous employers, Lego Serious Play was used in workshops for various purposes. This, too, influenced my project - especially because we weren’t allowed to keep the Lego models we created during those sessions.
On top of that, I had a specific Lego model in mind, but I lacked the right bricks to build it. That’s when I realized I wanted the flexibility to get exactly the pieces I need to bring my ideas to life.
Challenge
The biggest challenge was figuring out the design and functionality of the interface. Existing tools were already on the market, ones that were native and required installation, and were rather complex due to the multitude of features they offered. However, considering that I was targeting an audience of professionals, I was aware that a web-based build was necessary, as employees often do not have the permission to install software on their work computers.
First steps
Figuring out how the interface can be desgined
Thinking about which bricks, colors and features to offer
Drawing down a user flow from building to purchasing
As mentioned, there are already Lego building tools available. However, they are 3D, require installation, and primarily include all building elements that Lego offers. So not ideal for my target group.
I first defined the requirements my tool needed to enable users to create their own pixel art and convert it into Lego bricks.
Requirements
2D canvas to work on
Changing brick sizes
Changing color
Being able to order bricks used in their build easly
The interface
When it came to developing the tool, I had two choices: either build everything from scratch or leverage an existing tool that my target group was already familiar with and had installed on their work computers.
Since humans tend to resist behavior change, I decided to leverage an existing tool. This way, they don’t have to learn a new interface, visit a different site, or also create a new account.
When I started the project, I initially considered using Sketch, as it was widely used at the time. However, since I had only worked on it occasionally, the tool landscape had evolved in my favor over time. In the end, I designed it in Figma, which allows for collaborative work, easy sharing, and the ability to promote the plugin through the Figma Community, making it more accessible to users.
So in addition to my initial requirements, Figma provided additional capabilities, including collaborative work and a community space.
Bricks and colors
Since I was aiming for a 2D retro pixel style, I limited the available brick sizes in my tool to: 2x1, 2x2, 2x3, and 2x4.
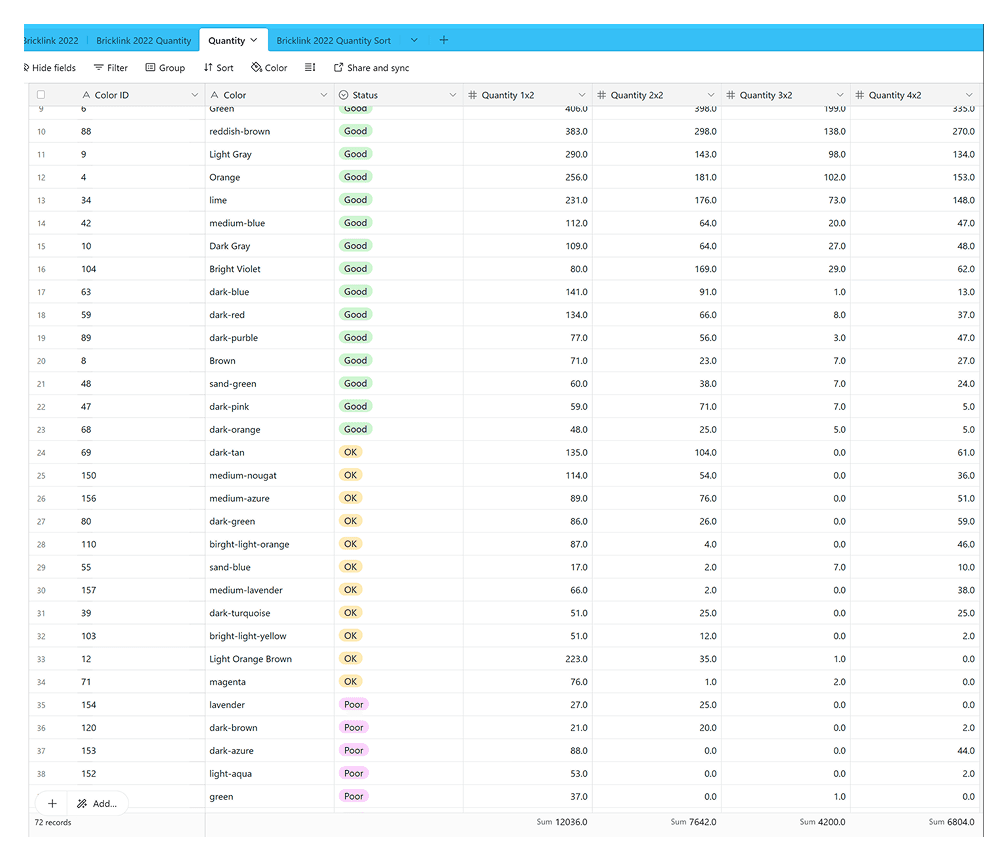
When it comes to colors and sizes, I tried to offer as many as possible while also considering that some are quite rare, making them difficult to get or very expensive. So, I created a list in Airtable to get a better understanding of which bricks are the most and least common. Even if a color was generally common, it wasn’t necessarily available in all brick sizes.
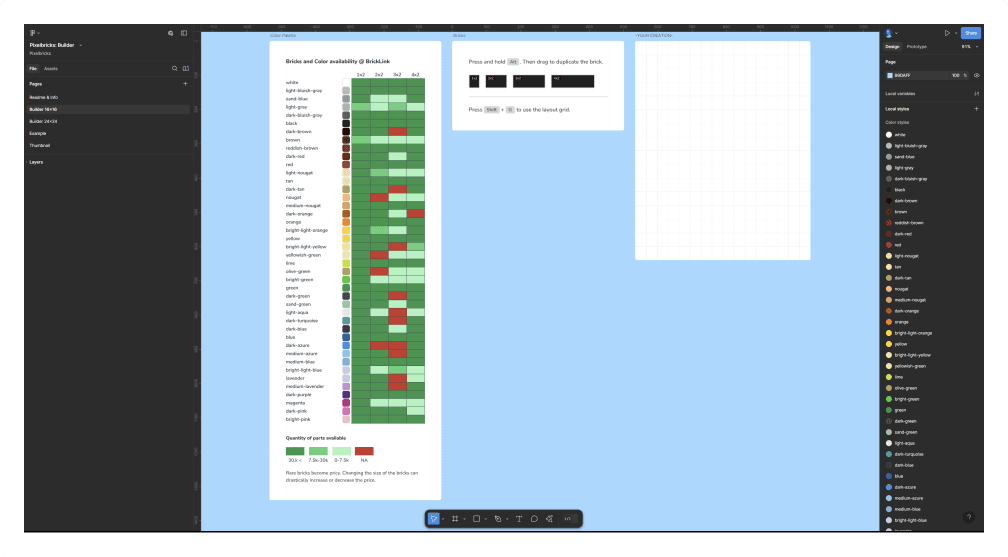
Prototyping Lego Bricks in Figma

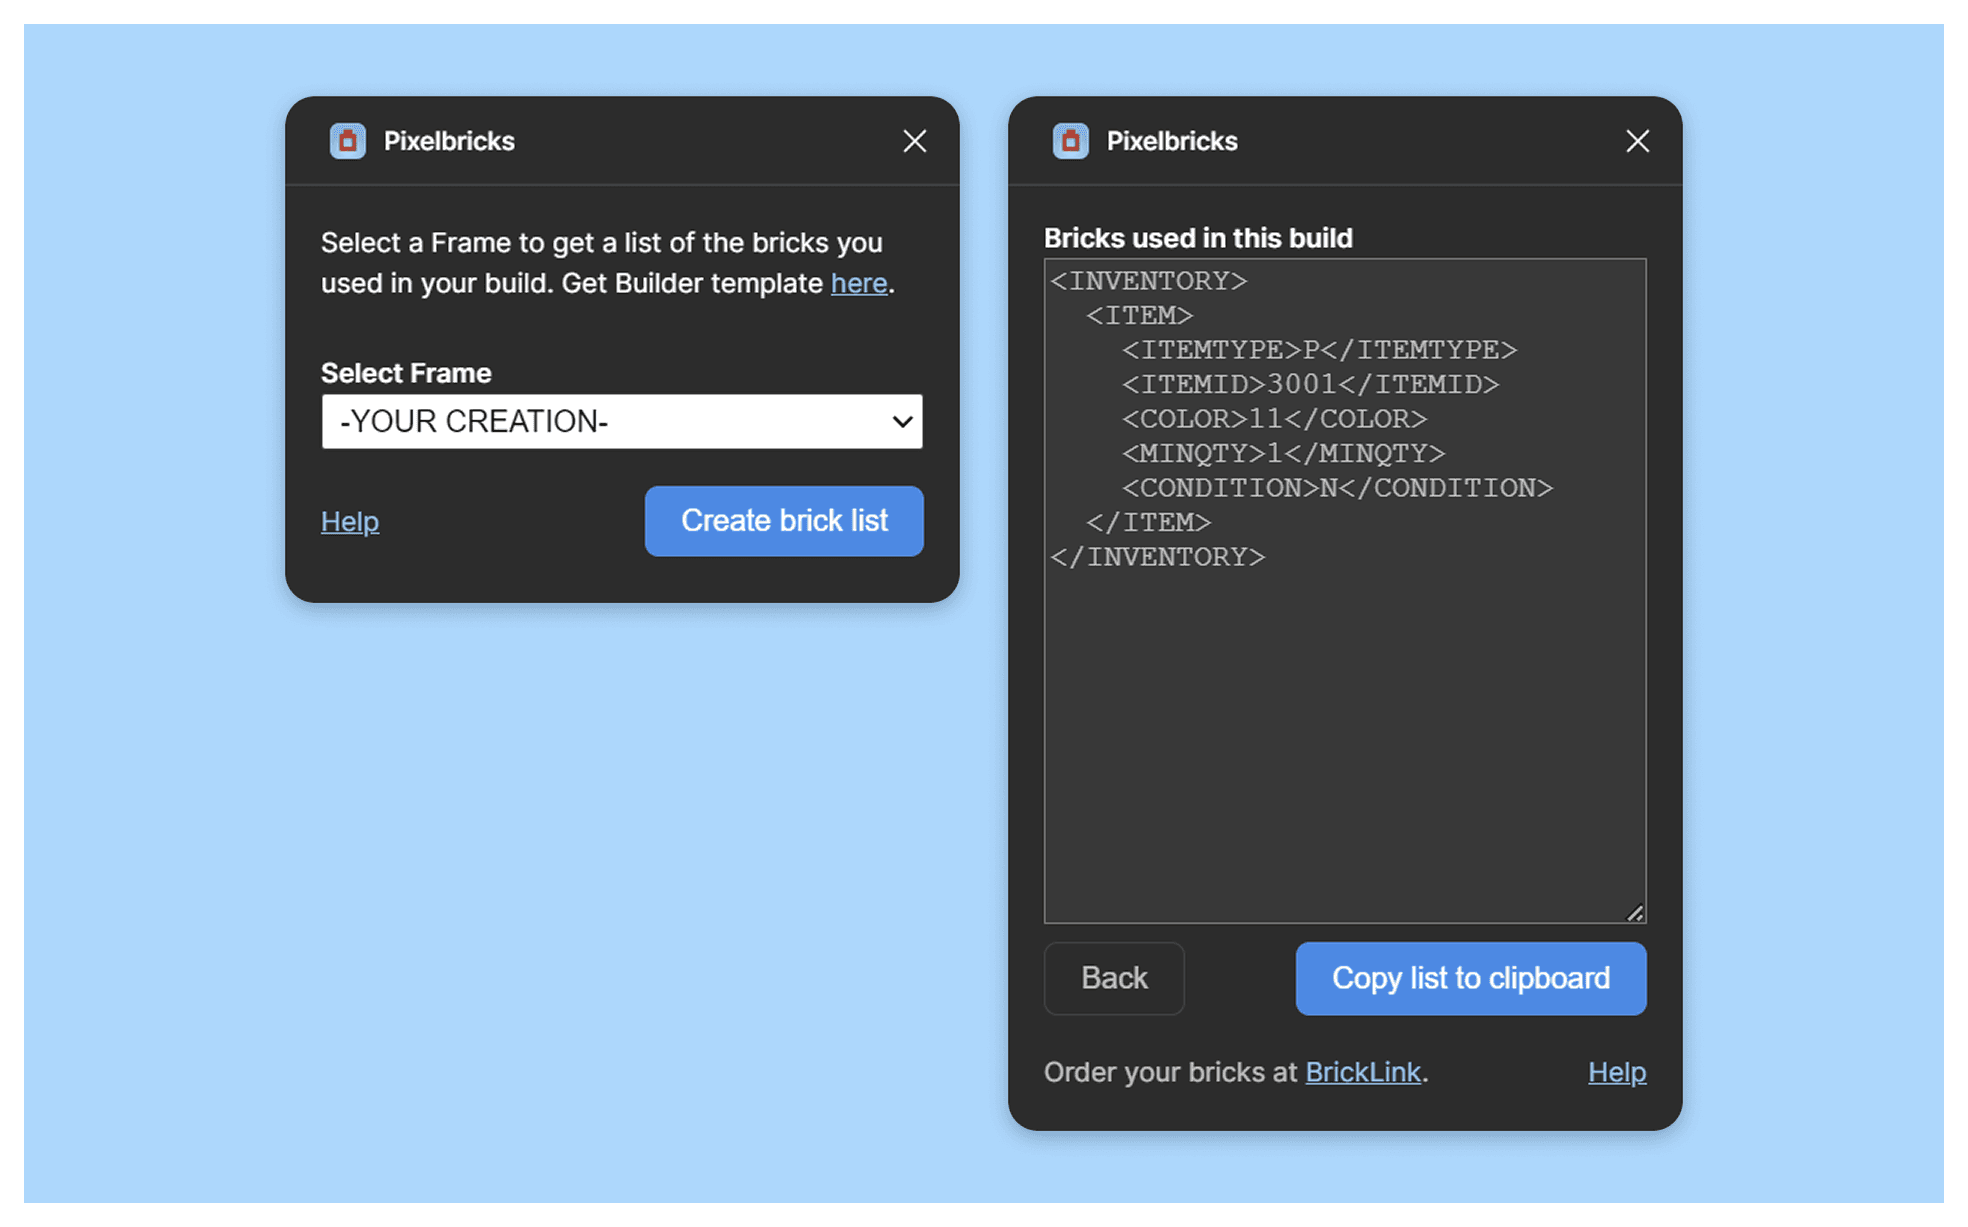
Why is this necessary, you may ask? Because you can order bricks on BrickLink via XML: Link. To do so, we need to specify the ITEMTYPE, ITEMID, COLOR, QUANTITY, and CONDITION.
Figma file
The so-called "Builder" file consists of a short introduction and subpages, allowing the user to get started right away.

Creation of the plugin interface
The interface consists of two steps. When running the plugin, the user first selects a frame that contains the bricks used in their build. After clicking "Create brick list", they receive a list of the used bricks in XML format, which can then be copied and used on BrickLink.
Touchpoints
After finalizing a working plugin, the next step was to choose the touchpoints and channels for its rollout. I had the following in mind:
Figma Community + some pre-builts
Website
Instagram
Product Hunt
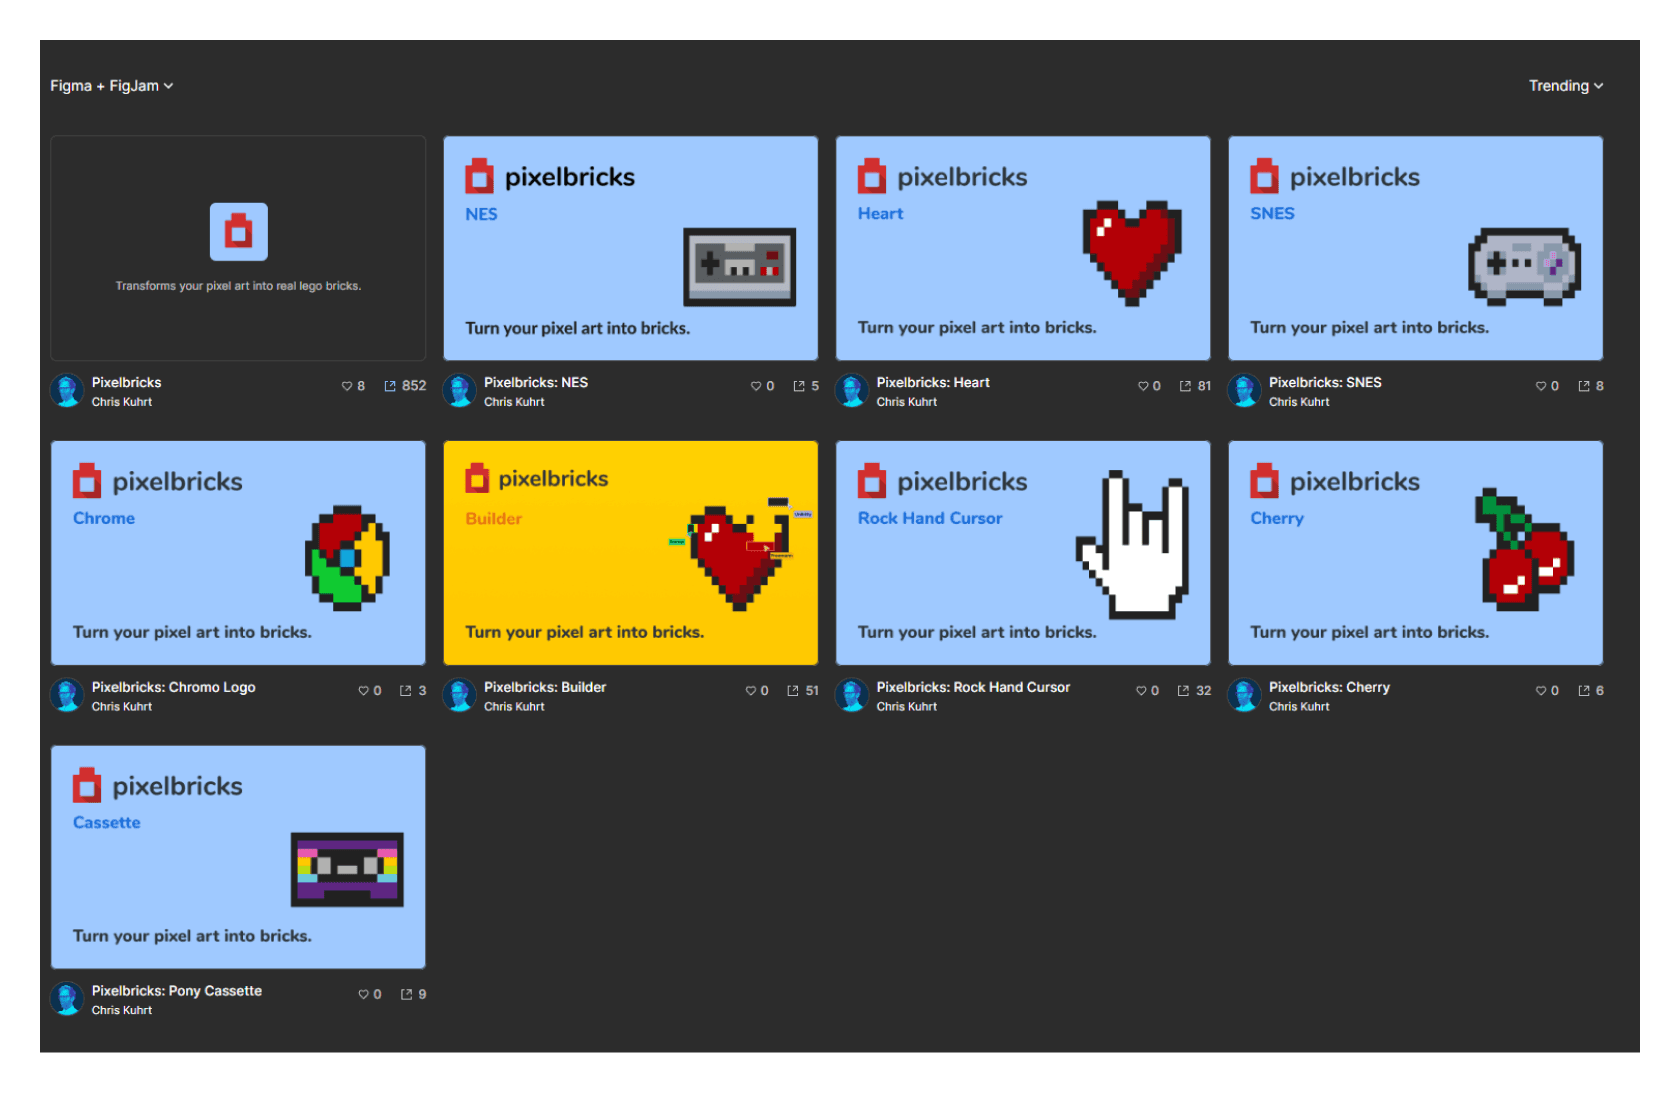
Figma Community
For the Figma Community, I included several pre-built templates alongside the plugin to give users a clearer sense of what’s possible. Of course, they can also download/oder these examples. Additionally, the pre-builts boosts overall visibility.
Website
—-
—-
Producthunt
—-